Scratch Disks
Setting Scratch Disks (also known as a temporary file cache) in AVD is critical to improving performance and stability for your students.
Did you know that not setting the scratch disks can cause several issues? These issues are not just in AVD!
- Disk read/write throttling, which slows down performance for everyone 🐢
- Filling up the C:\ drive, causing issues for other users 😠
- Filling up the local profile, on the C:\ drive, which causes issues for the current user 🤷🏻
Please review this guide on how to set Scratch disk for Premiere Pro.
Adobe Premiere Pro issue with playback after exporting
Issue: the default playback player will show the following error:
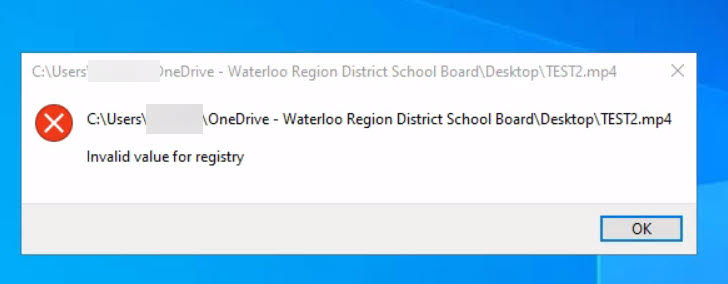
Workaround:
- Ensure keyboard shortcuts are on turn on keyboard shortcuts within AVD.
- Right Click on the file without a mouse by tapping with two fingers on the touchpad or holding the ALT key.
- Open in VLC Media Player
Adobe Premiere Pro – Audio/Video Sync/Jitter
Ever encountered a video in Premiere Pro that plays at the wrong speed in AVD? This can be frustrating, but fear not! Here are some common culprits and solutions to get your classroom edits running smoothly.
1. Mismatched Frame Rates
One common reason for playback issues is a mismatch between your sequence settings and the frame rates of your video clips. When you first create a sequence, Premiere Pro usually sets the frame rate based on the first clip you import. However, if you’re mixing footage from different sources (like student iPhone videos and downloaded content), the frame rates might differ. This can lead to playback speed inconsistencies.
Solution:
- Check Your Sequence Settings: Open your sequence settings panel (right-click on the sequence name and choose “Sequence Settings”).
- Match Frame Rates: Ensure the sequence frame rate matches your most common clip frame rate. For basic classroom edits, 30 fps is a good starting point.
- Conform Your Clips (Optional): Use Premiere Pro’s “Conform” function to adjust the clip’s playback speed without affecting its actual duration. This ensures smooth playback within the sequence.
2. Incomplete Rendering
Premiere Pro uses previews to optimize playback performance during editing. However, complex projects with mixed media (like your classroom videos!) can sometimes overwhelm the preview system. This can lead to choppy playback or incorrect speeds.
Solution:
- Set In and Out Points: Mark the specific part of the video you’re editing using the In and Out points on the timeline.
- Render the Selection: Right-click within the marked area and choose Render > In to Out. This creates a high-quality preview of that section, improving playback accuracy.
3. Audio Hardware Settings (New Tip!) 
When using Adobe Premiere Pro on Azure Virtual Desktop, some users experience jittery video or audio-video sync issues during playback. This can be caused by how Premiere handles audio input devices in a virtual environment.
What’s happening?
Premiere Pro tries to connect to an audio input device (like a microphone) by default. But in a virtual desktop environment like AVD, this connection can be unstable or unnecessary. When Premiere keeps trying to access a microphone that isn’t really there (or is virtual), it can slow things down and cause playback issues.
Solution:
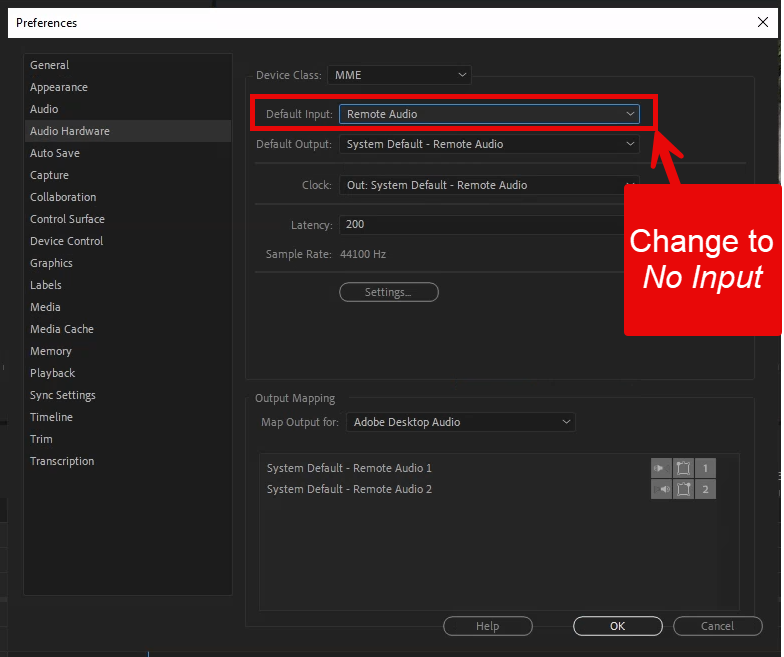
- Go to Edit > Preferences > Audio Hardware
- Under Input Device, select No Input
- Click OK to apply the change
Disabling the audio input device reduces system resource usage and can significantly improve playback smoothness. This change only affects audio input (like microphones) and won’t impact your ability to edit or hear audio. However, don’t forget to turn it back on if you plan on capturing audio!
Bonus Tip
For especially complex projects, consider reducing the number of video tracks or effects applied simultaneously. This can lighten the workload on your computer and improve playback performance.
Further Resources
This Adobe Help Center article provides a deeper dive into rendering and preview options: Adobe Premiere Pro Rendering and Previewing Sequences article
By following these tips, you can overcome playback speed issues and keep your classroom video editing running smoothly. Remember, even high-end desktops will struggle with complex projects, so strategize your editing workflow for optimal results!